DeepSeek Harness Windows 安裝教學(2026 圖文版)
從安裝 Node.js 到完成第一個任務:DeepSeek Harness(dsh)在 Windows 10/11 上的完整圖文安裝教學,10 個步驟搭配 17 張實機截圖,每張圖都能直接跳回來源影片的對應時間點。
最近更新: 2026-08-30
DeepSeek Harness(dsh)目前是開發者預覽版,但在 Windows 上的安裝和一般 npm 套件沒什麼差別:先裝 Node.js,再在 PowerShell 執行一行全域安裝指令,然後開啟 http://127.0.0.1:3080 的 Web UI,全程不需要 WSL。
這篇圖文教學把整個流程拆成 10 步,截圖全部取自實際安裝錄影,每張都附時間點連結——如果螢幕上的畫面和教學對不起來,點一下就能跳回影片看實際操作。
10 步裝好 DeepSeek Harness(全程截圖)
- 1
先安裝 Node.js
DeepSeek Harness 需要 Node.js 20 以上(建議 Node 22 LTS)。到 nodejs.org 下載 Windows 安裝檔,依預設選項一路裝完,然後在終端機輸入 node --version 按下 Enter,輸出 v20 以上就代表安裝成功。
$node --version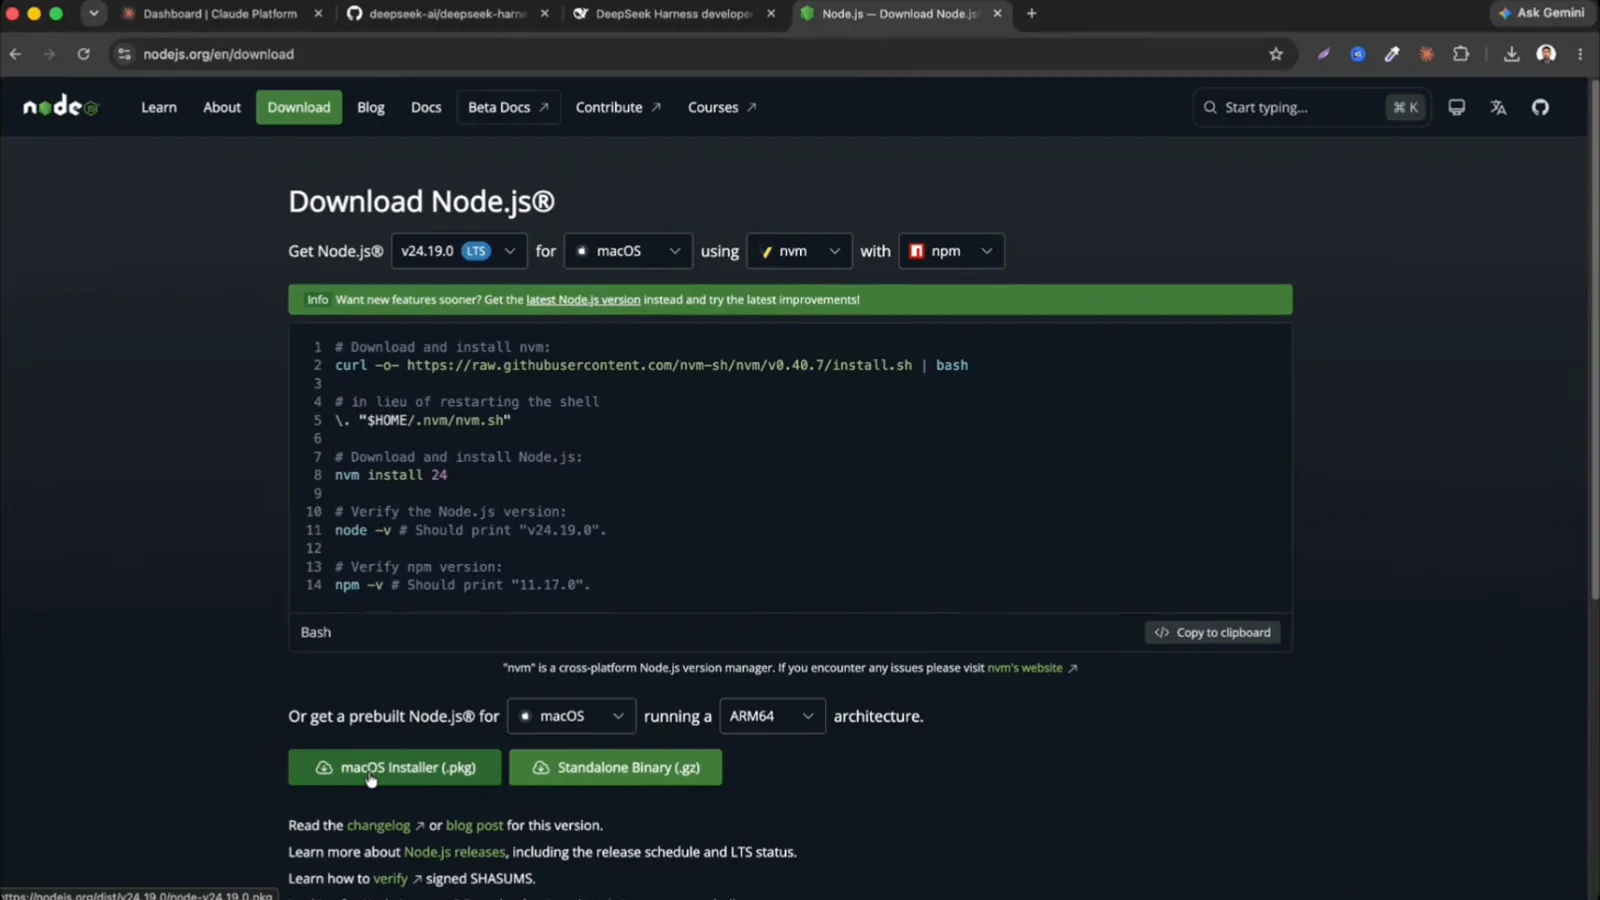
nodejs.org 下載頁——選 Windows 的 Prebuilt Installer。跳回影片 1:01 - 2
開啟 PowerShell,全域安裝 DSH
從開始功能表開啟 PowerShell,執行下面的全域安裝指令。-g 參數代表全域安裝,完成後在任何資料夾都能直接使用 dsh 指令。npm 大約半分鐘就會跑完,最後輸出 added 454 packages;接著執行 dsh web,終端機會印出 dsh web: http://127.0.0.1:3080,並預設自動開啟瀏覽器。
$npm install -g @deepseek-ai/dsh$dsh web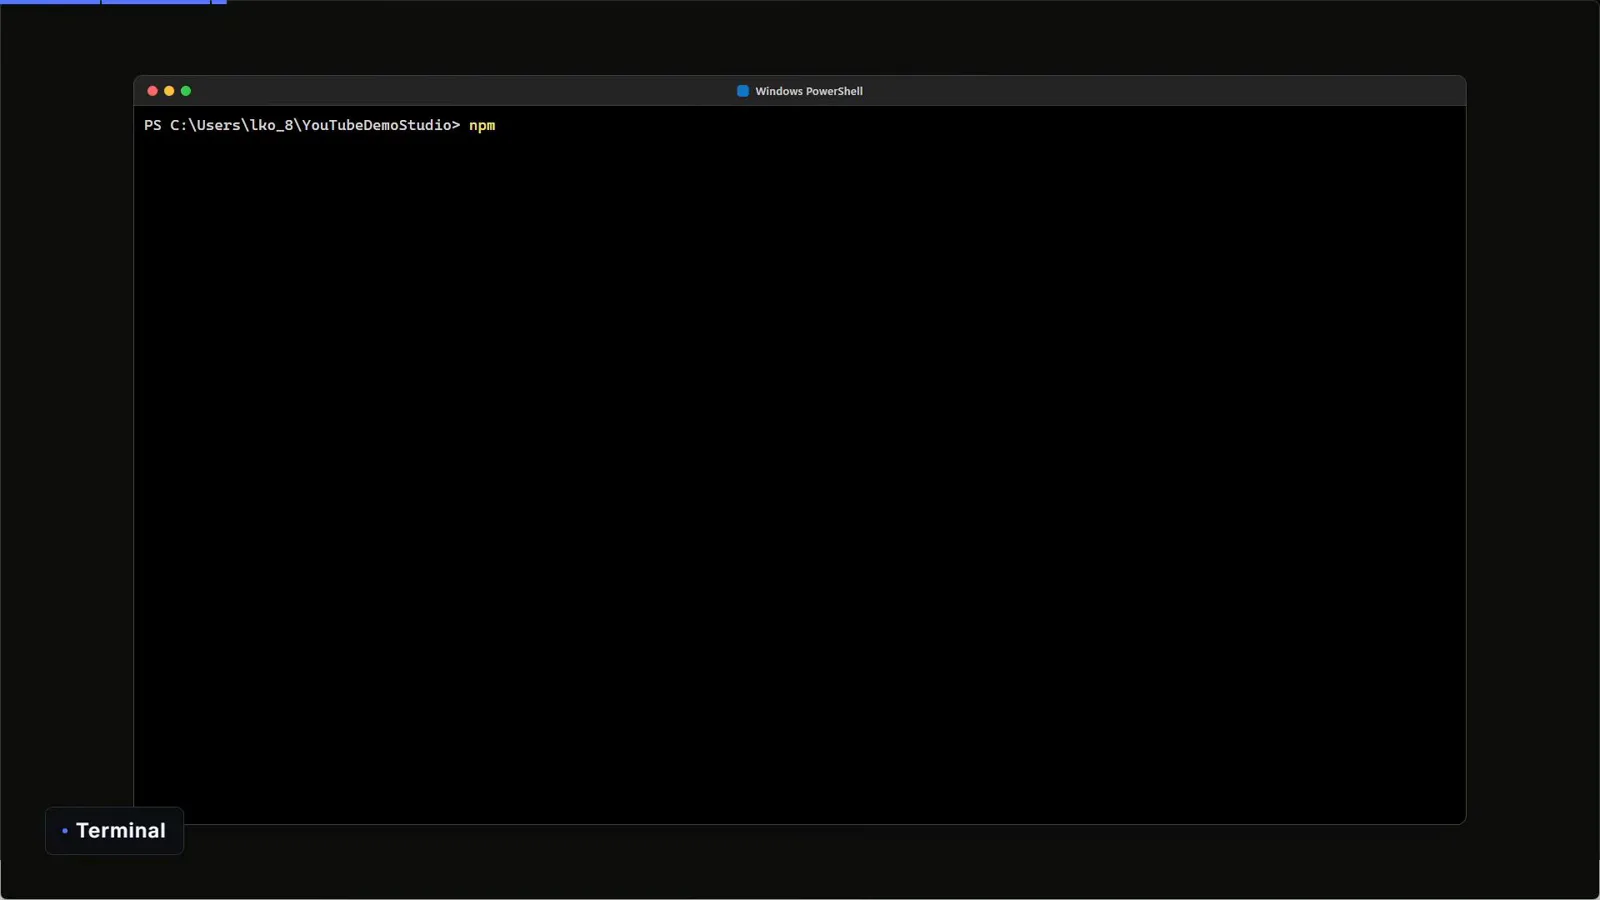
PowerShell 已就緒,安裝指令就打在這裡。跳回影片 1:27 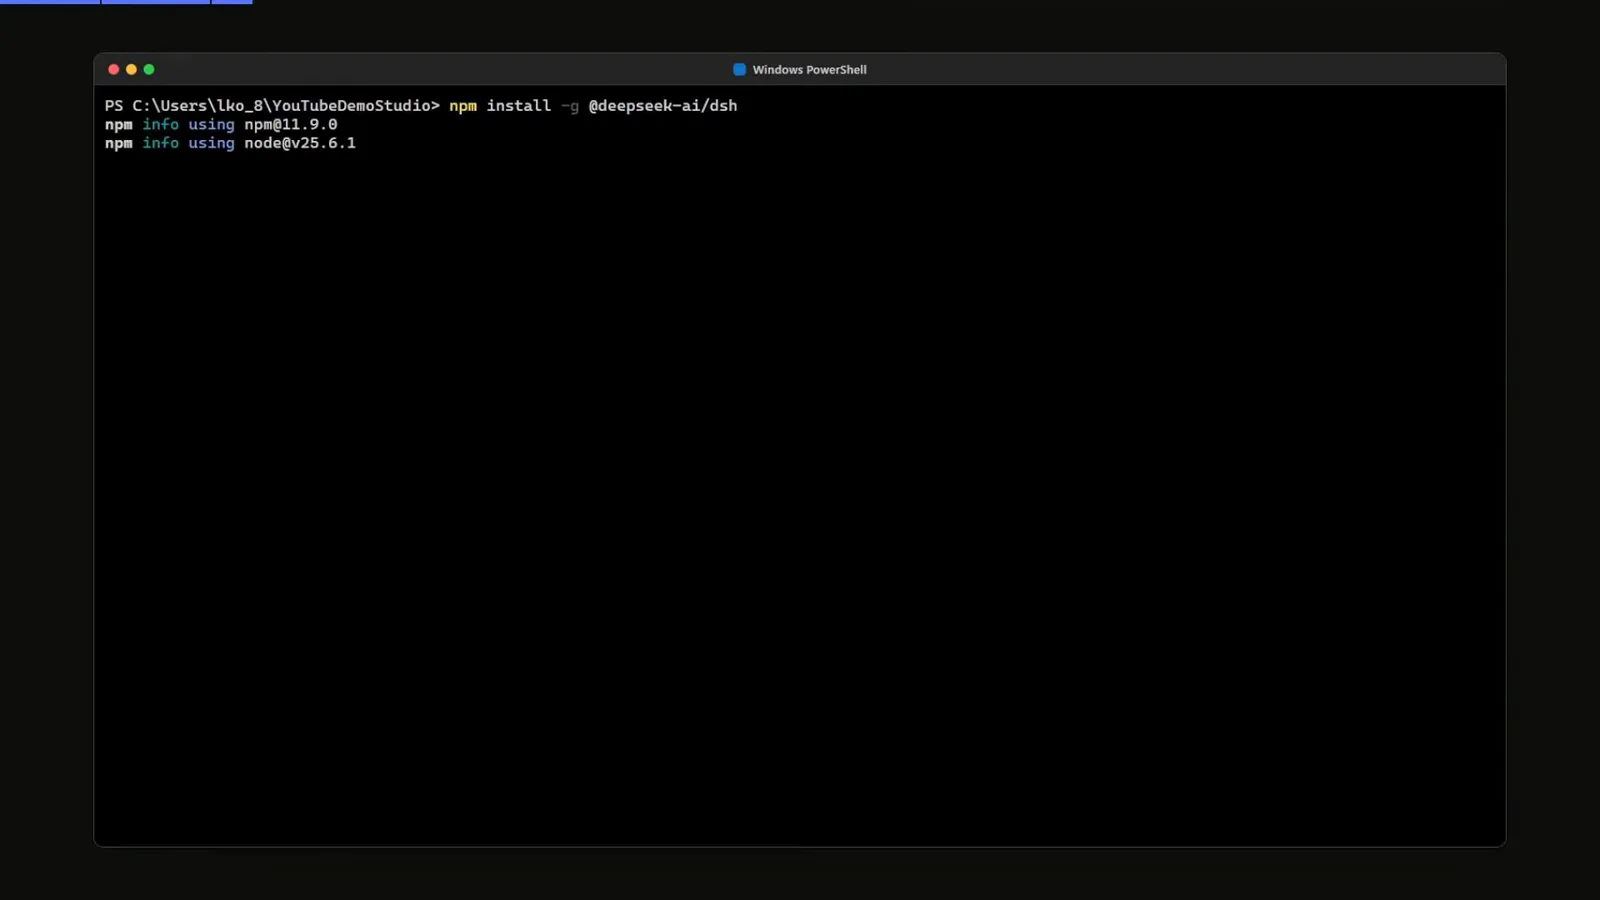
全域安裝指令:npm install -g @deepseek-ai/dsh。跳回影片 1:37 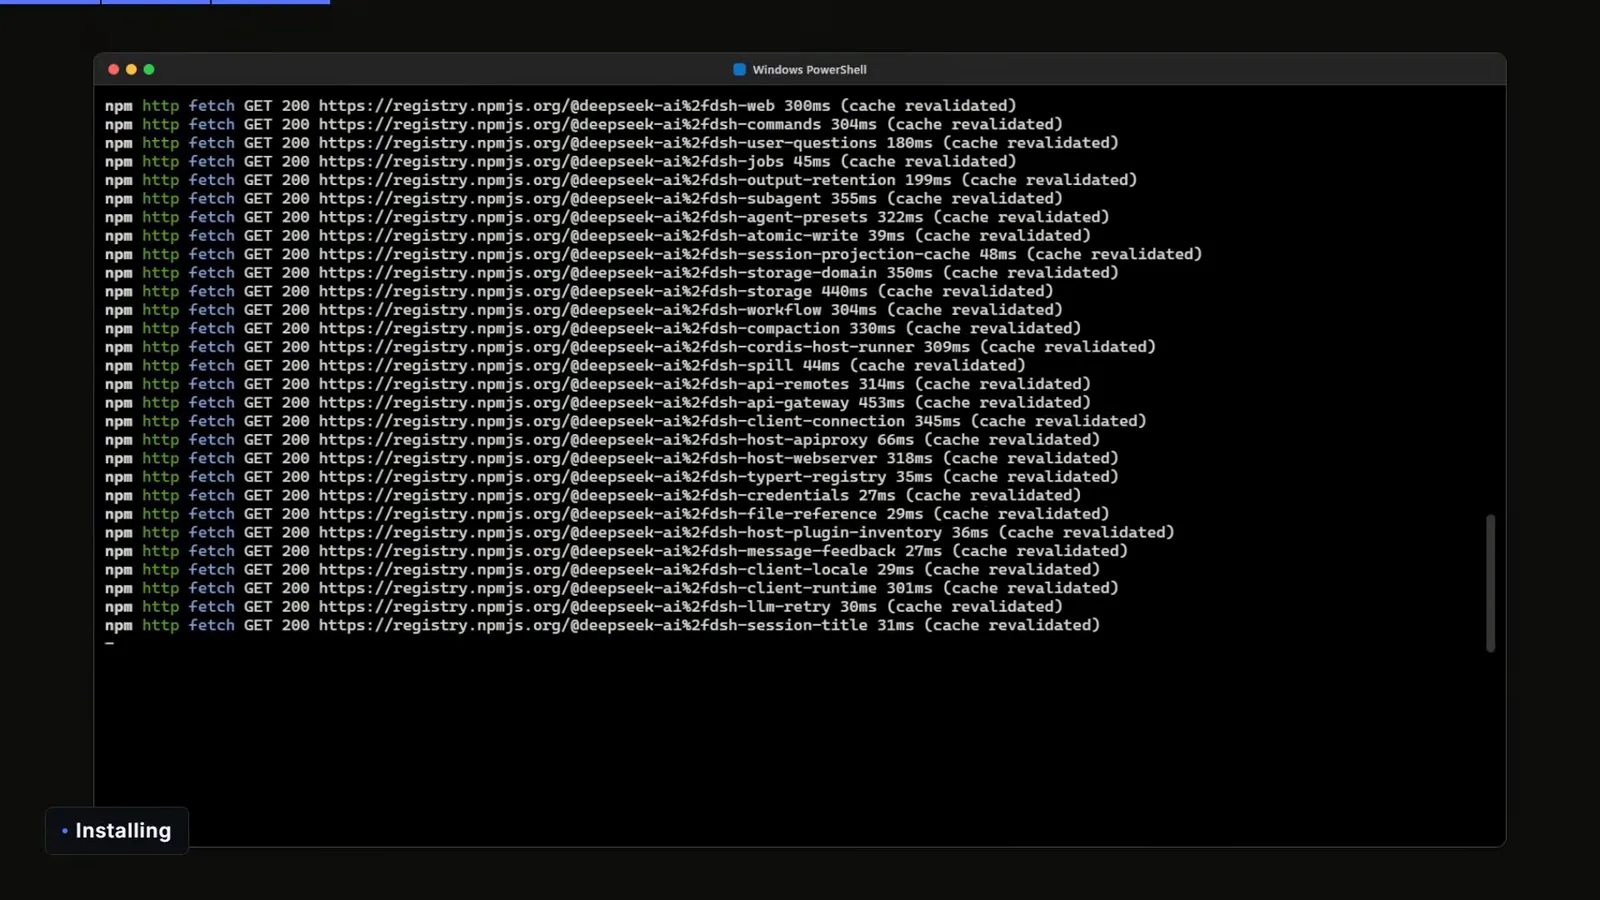
npm 正在從 registry 拉取 DeepSeek Harness 的套件。跳回影片 2:07 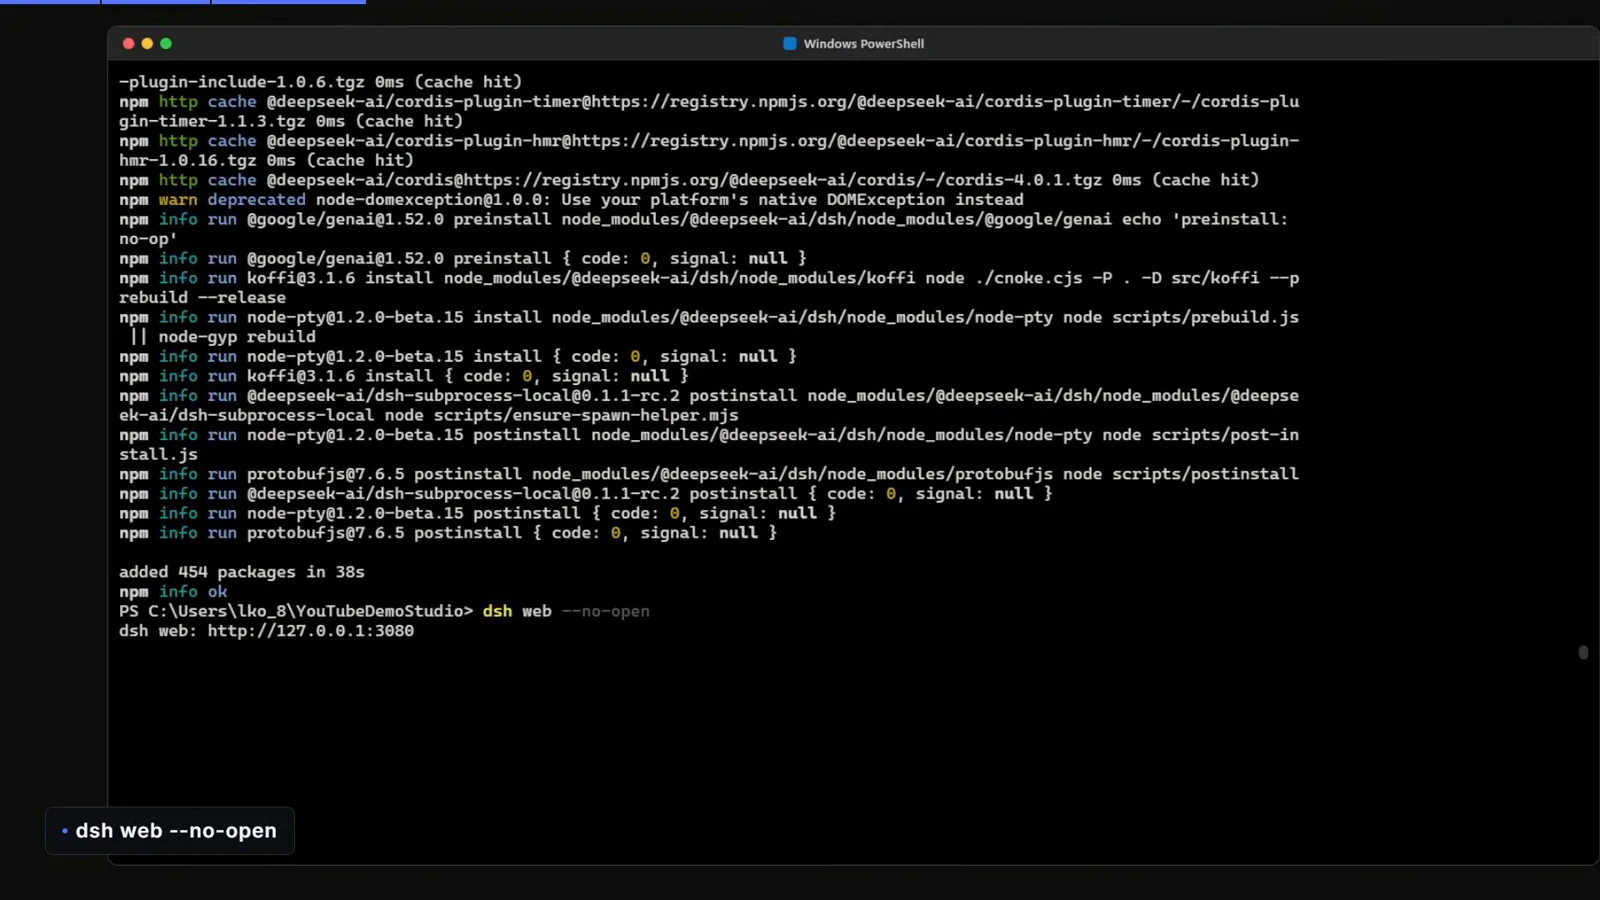
出現 added 454 packages,接著 dsh web 印出本地位址。跳回影片 2:21 - 3
不想安裝?用 npx 一行搞定
只想先試試?執行 npx @deepseek-ai/dsh web,在它詢問 'Ok to proceed?' 時輸入 y,DSH 就會暫時下載並啟動,不會常駐在系統裡。注意:下面這張截圖來自 macOS 終端機,但指令和 PowerShell 完全相同。
$npx @deepseek-ai/dsh web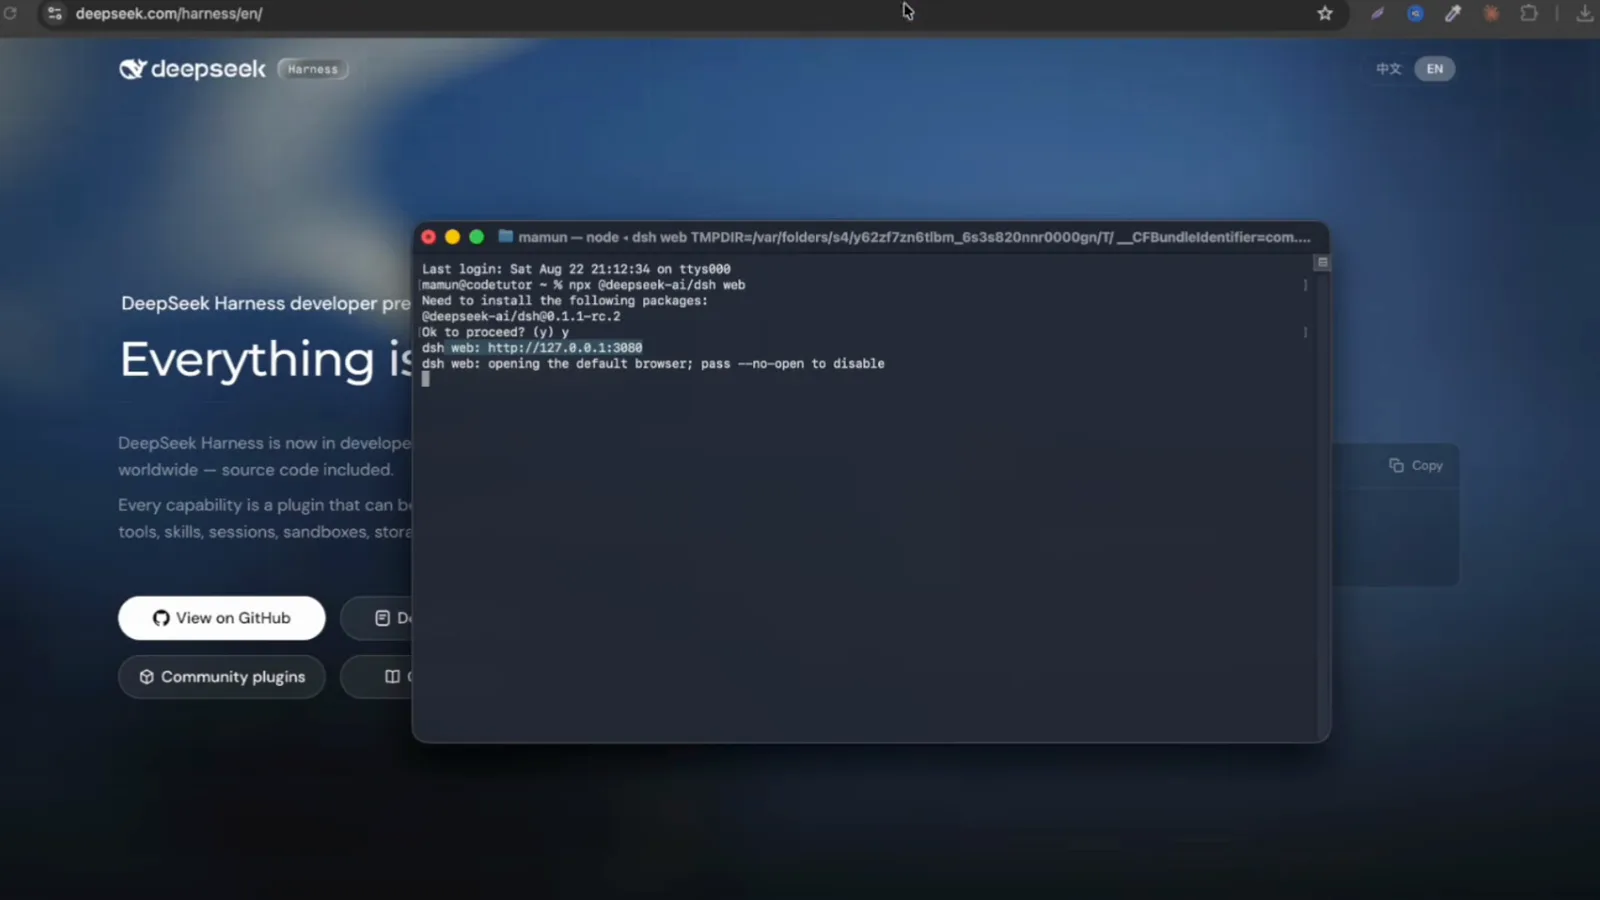
一行指令的替代方案:npx @deepseek-ai/dsh web(與 PowerShell 完全相同)。跳回影片 1:51 - 4
首次啟動:測試提示與 API key
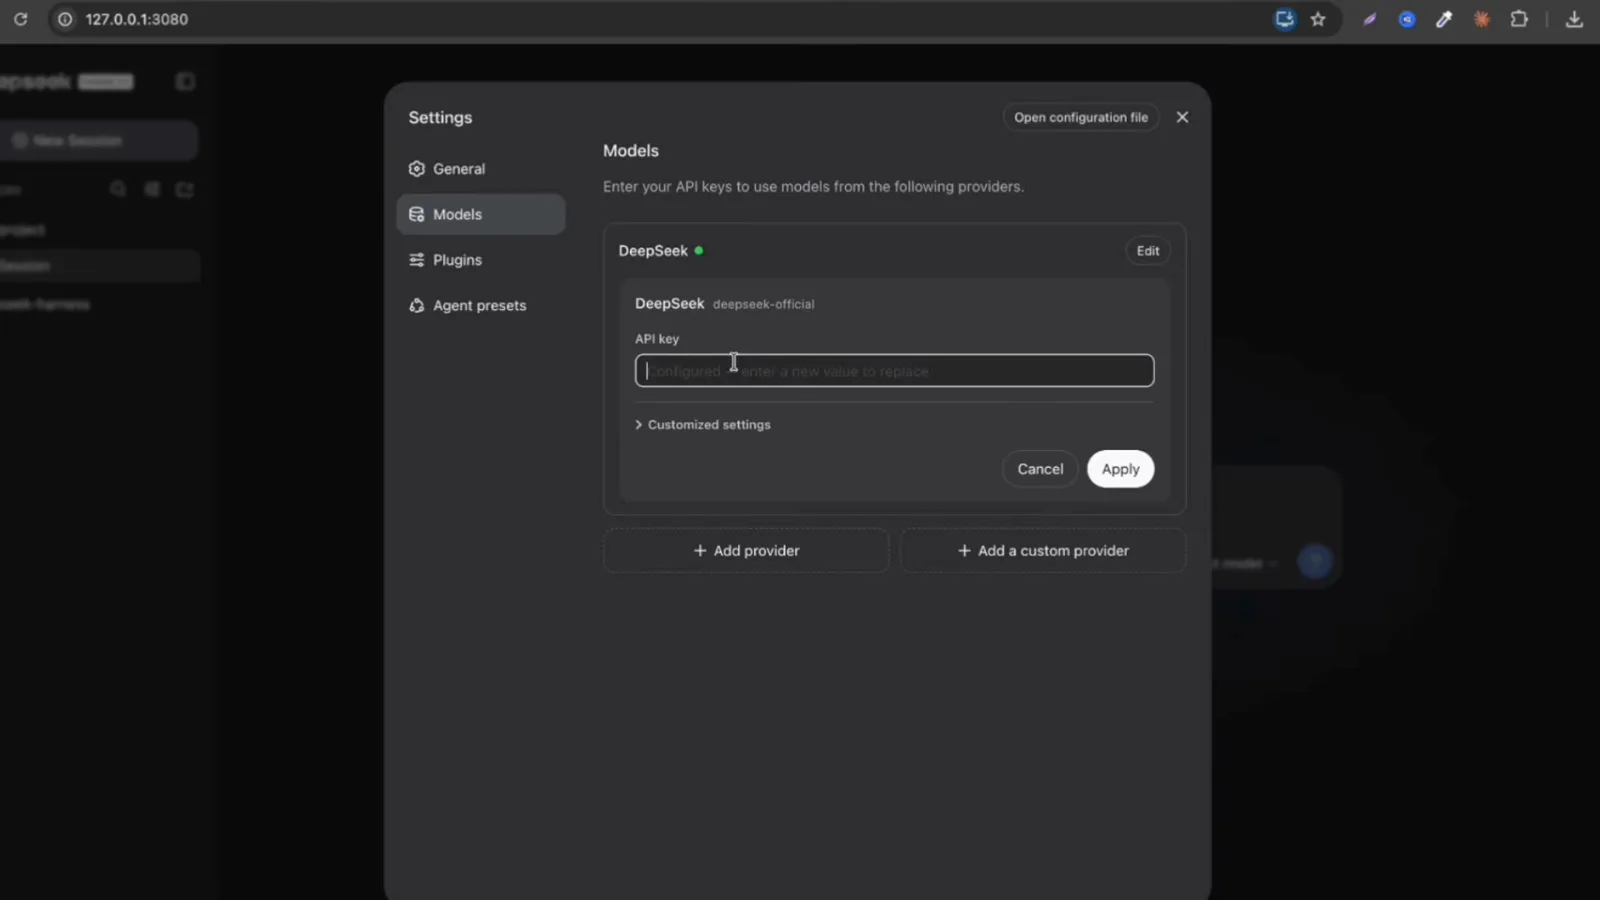
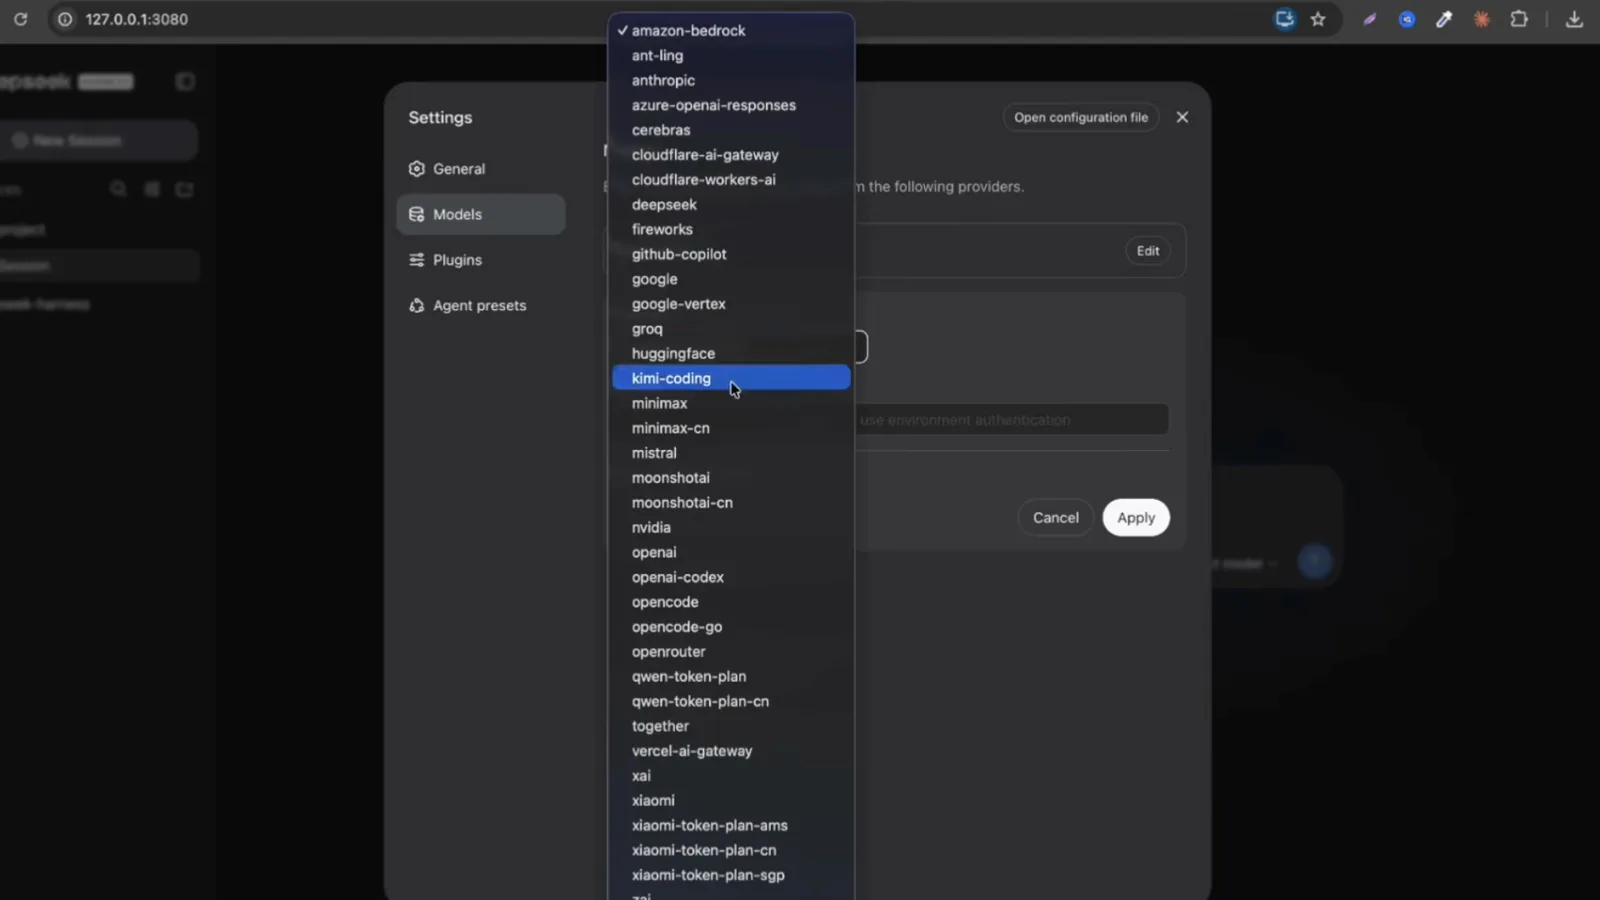
Web UI 第一次開啟時會先跳出 Internal Testing Notice(內部測試提示)——DSH 目前是開發者預覽版,按 Continue 繼續即可。接著 DSH 會要求設定官方 DeepSeek provider:到 platform.deepseek.com 建立 API key(模型呼叫由 DeepSeek 依用量計費),貼上後按 Save and continue。API key 視同密碼,請妥善保管。
首次啟動先出現 Internal Testing Notice,按 Continue。跳回影片 2:43 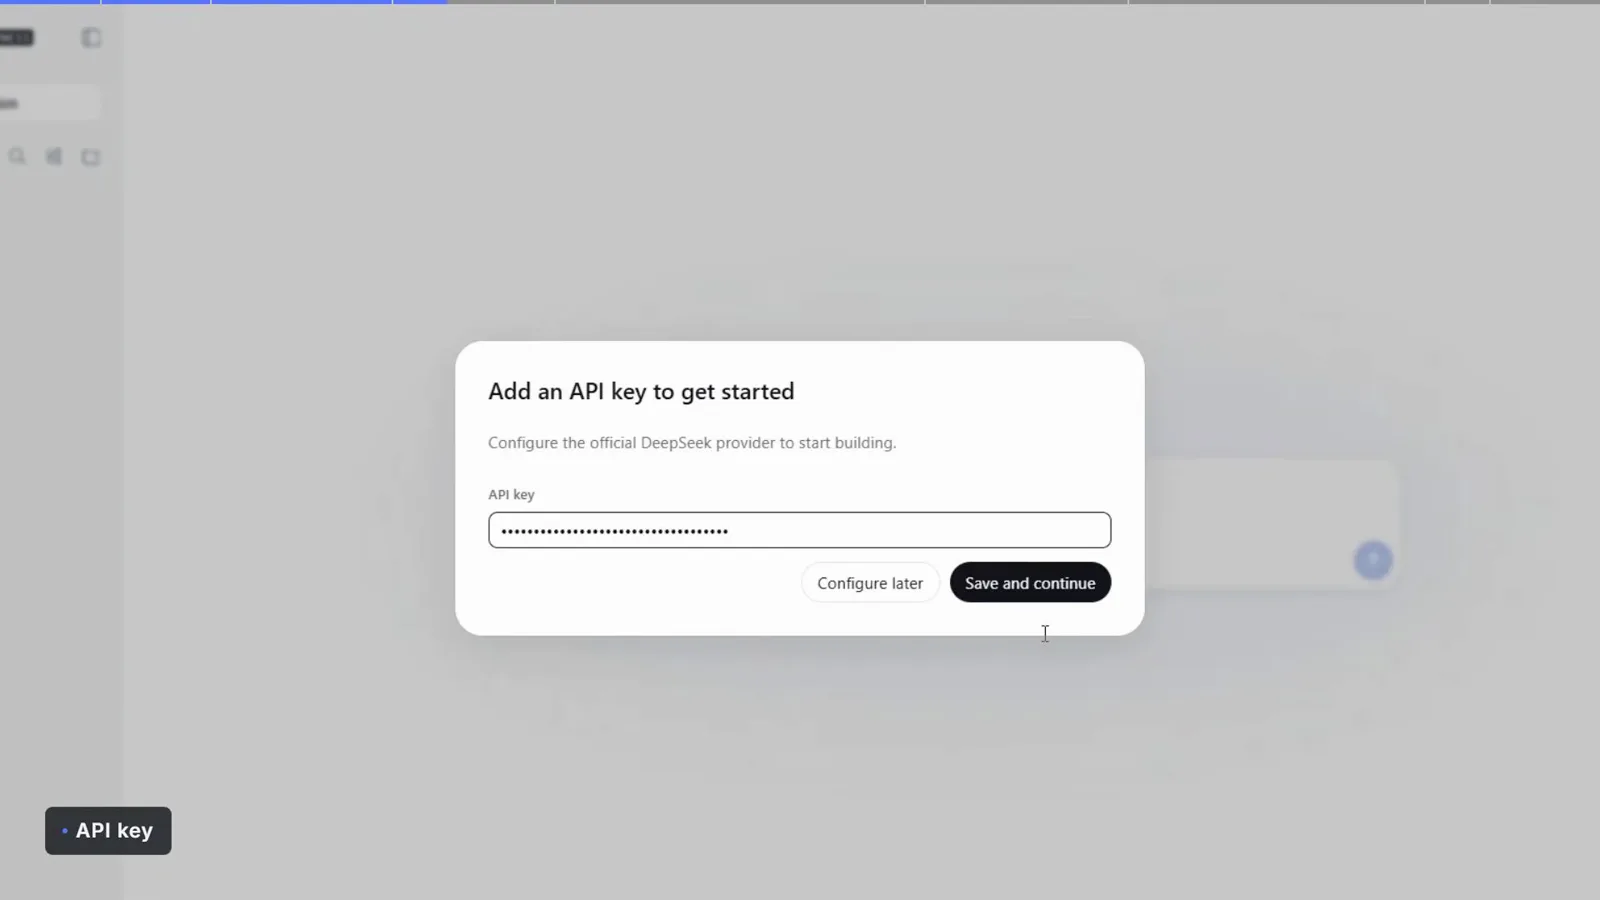
貼上 DeepSeek API key,按 Save and continue。跳回影片 2:52 - 5
選擇工作區與模式
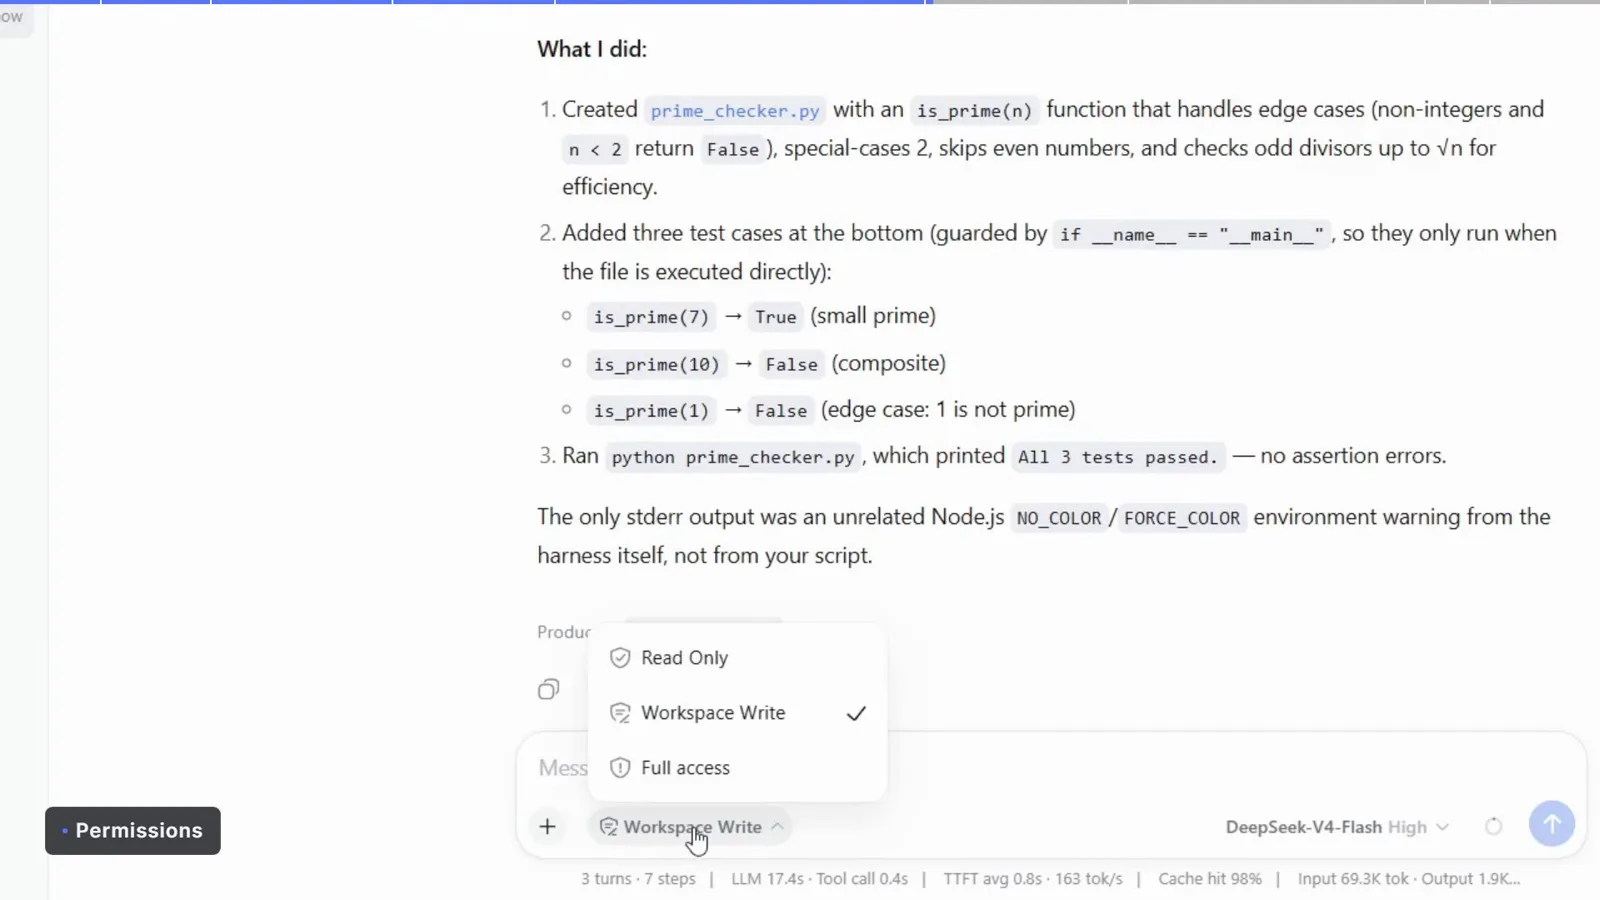
工作區(workspace)就是允許 agent 修改的資料夾——在 Workspace Write 權限模式下,它就是權限邊界。挑一個你在意的專案資料夾,模式維持預設的 Standard 即可,它是完整的編碼 agent 預設集。
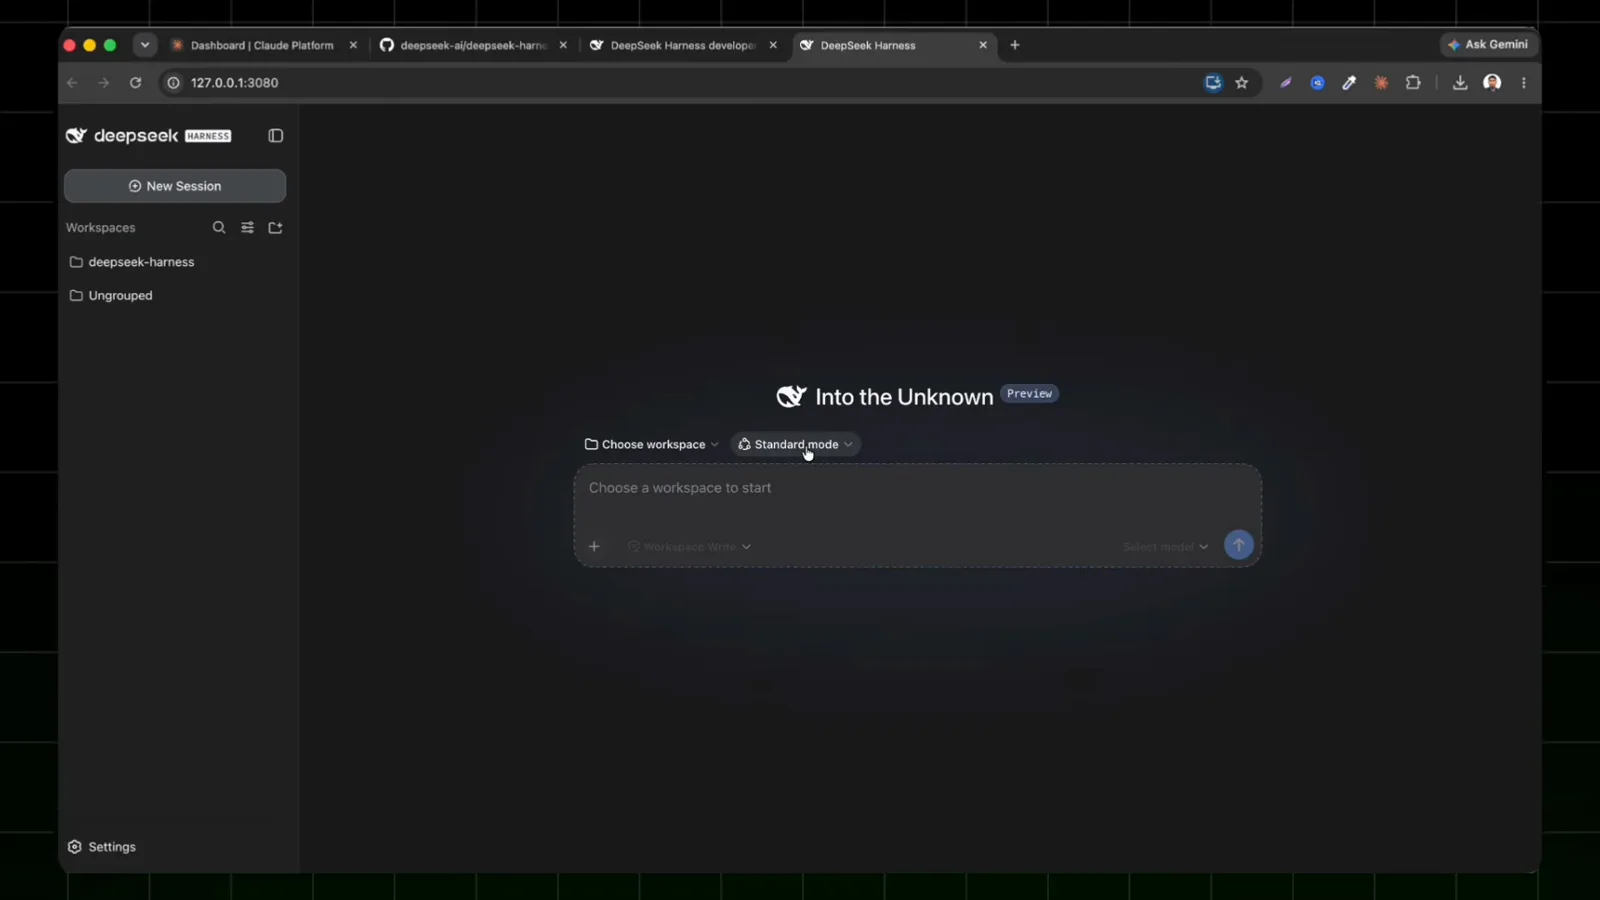
選好工作區資料夾,模式維持 Standard。跳回影片 2:01 - 7
認識四個 agent 預設集
DeepSeek Harness 內建四個 agent 預設集:Standard(完整編碼 agent)、PTC(同樣的工具,透過 Code-Mode TypeScript SDK 串接)、Minimal(只保留常駐 shell 與檔案編輯器)、Creator(自行撰寫預設集)。在 Settings 裡隨時可以切換。
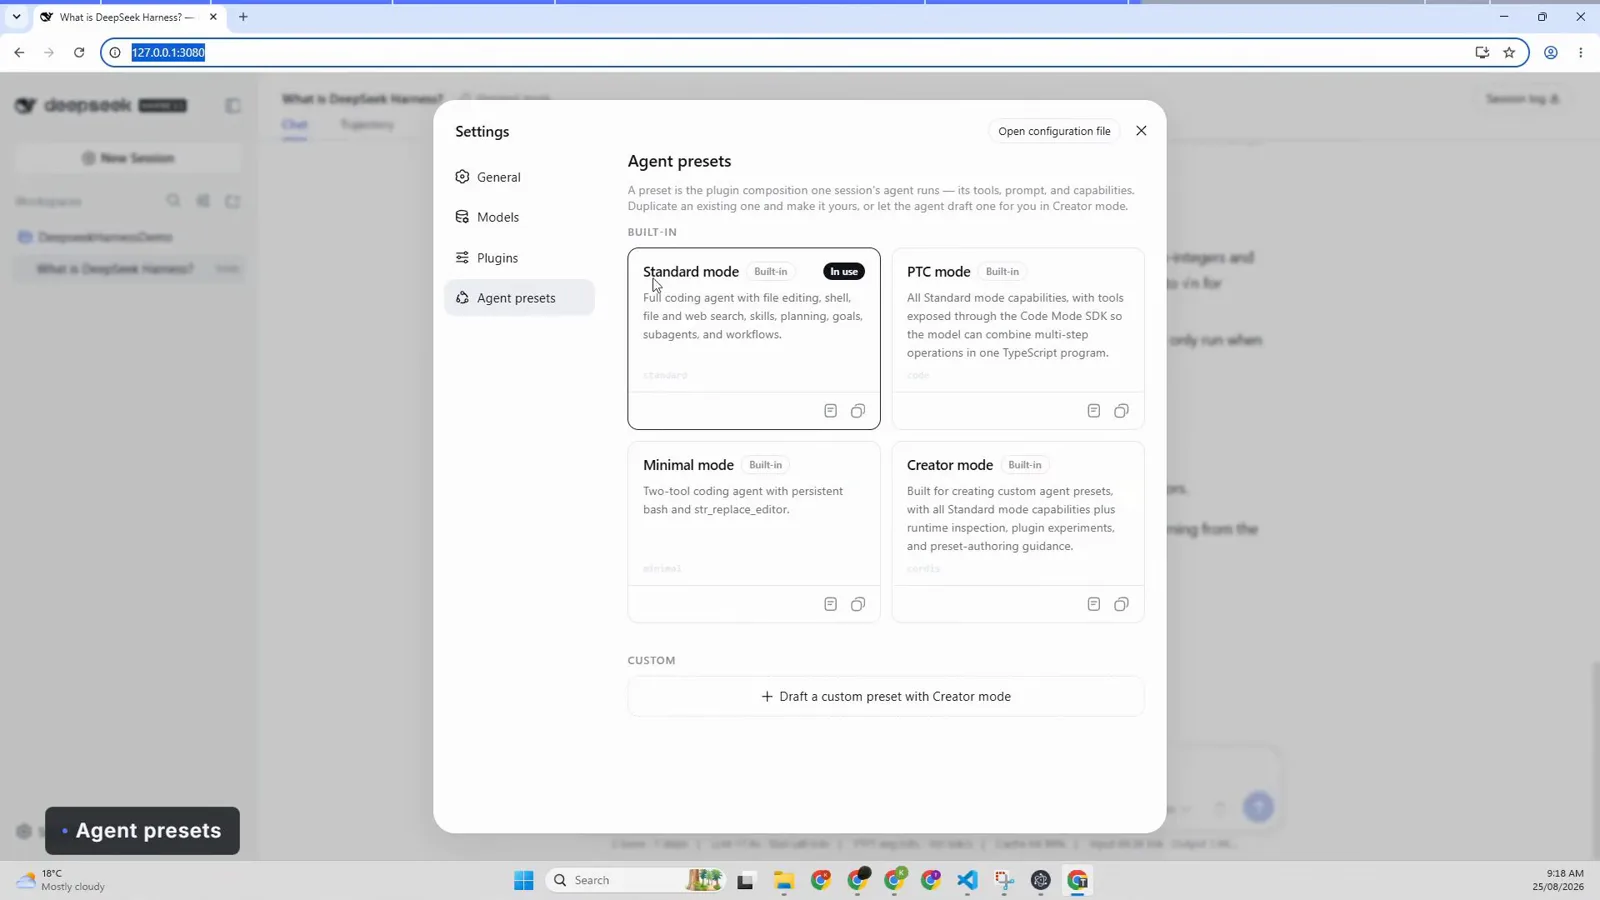
四個內建預設集:Standard、PTC、Minimal、Creator。跳回影片 7:20 - 9
一切皆外掛
開啟 Settings → Plugins:Shell、Agent loop、Web search 等 160 多個外掛共同組成這個 agent。每個外掛都可以檢視、設定甚至替換——這正是 harness 的設計理念。可安裝的社群外掛可以在我們的外掛目錄瀏覽。
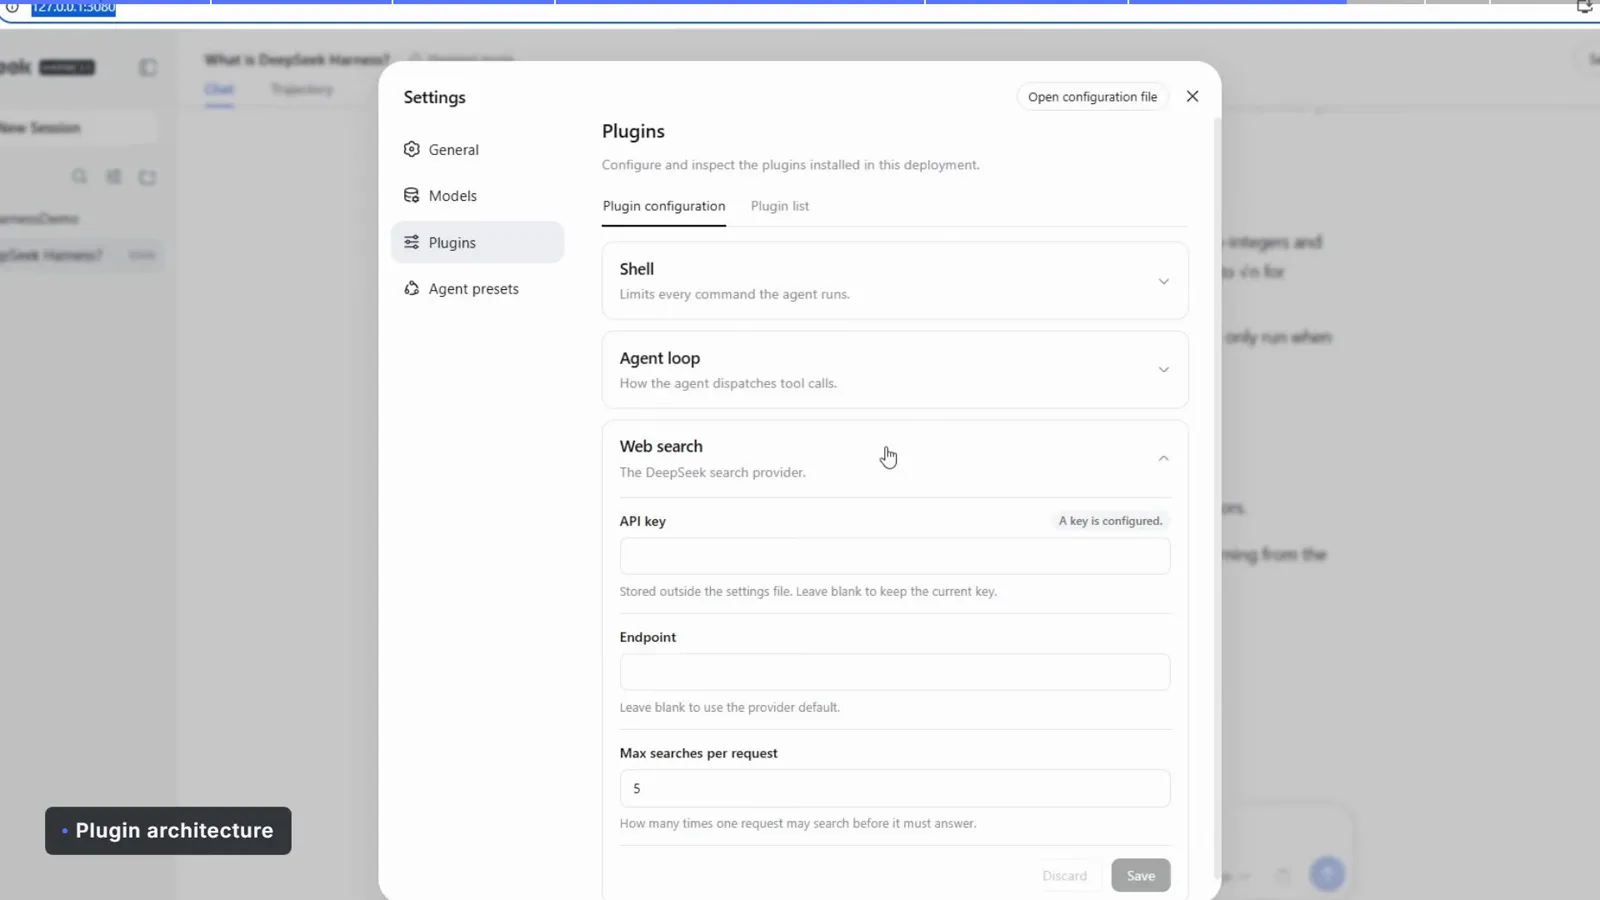
Settings → Plugins:Shell、Agent loop、Web search 等。跳回影片 8:40
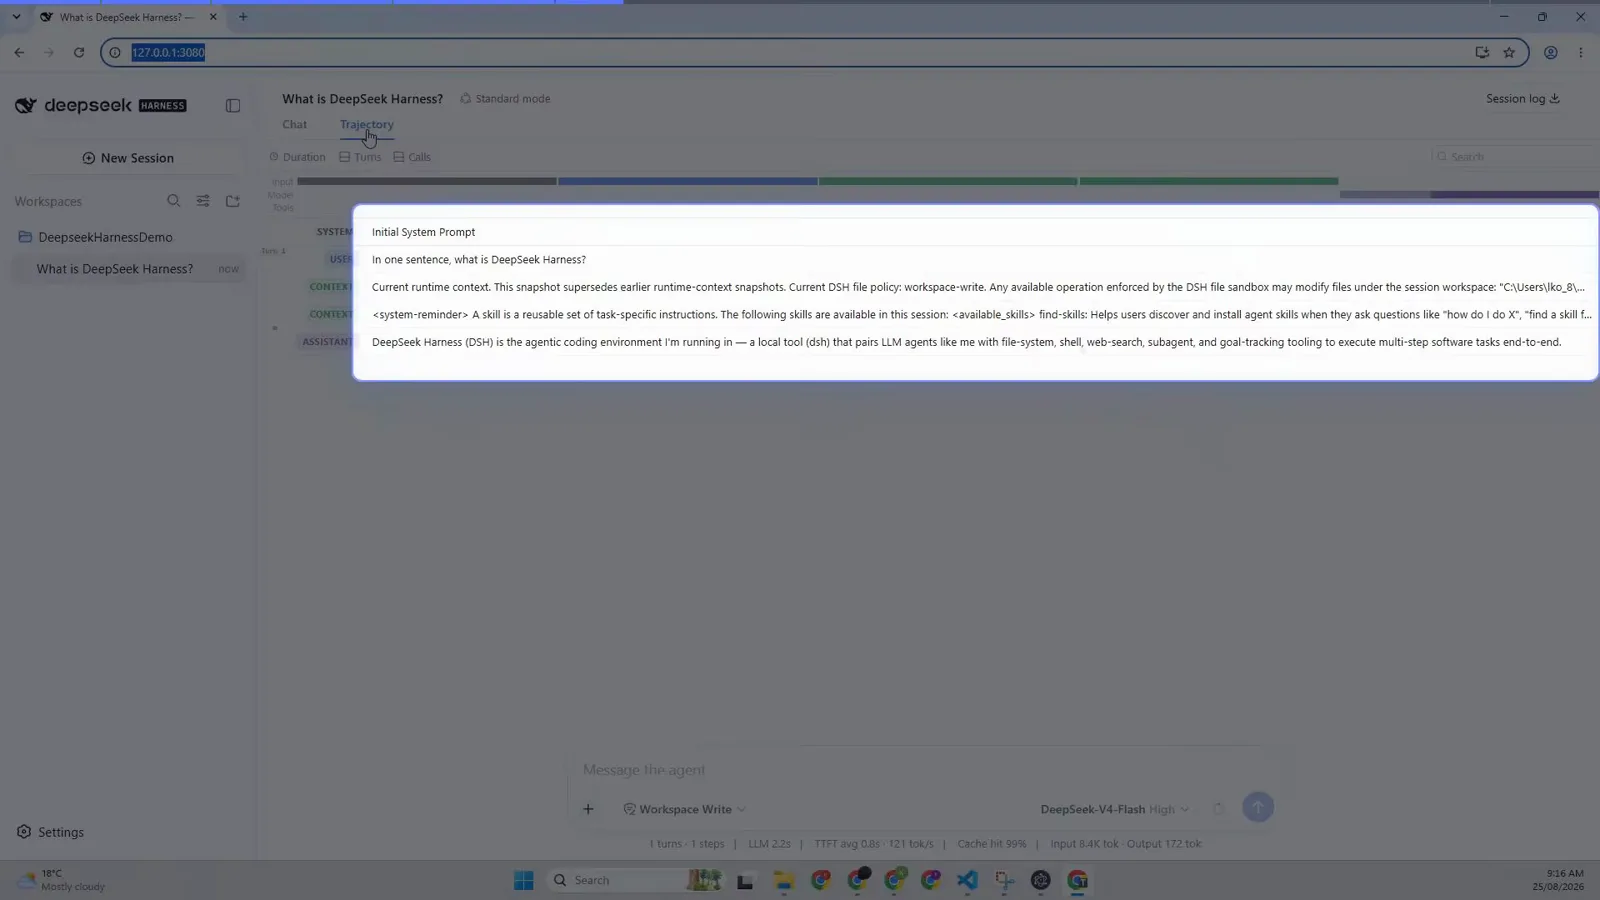
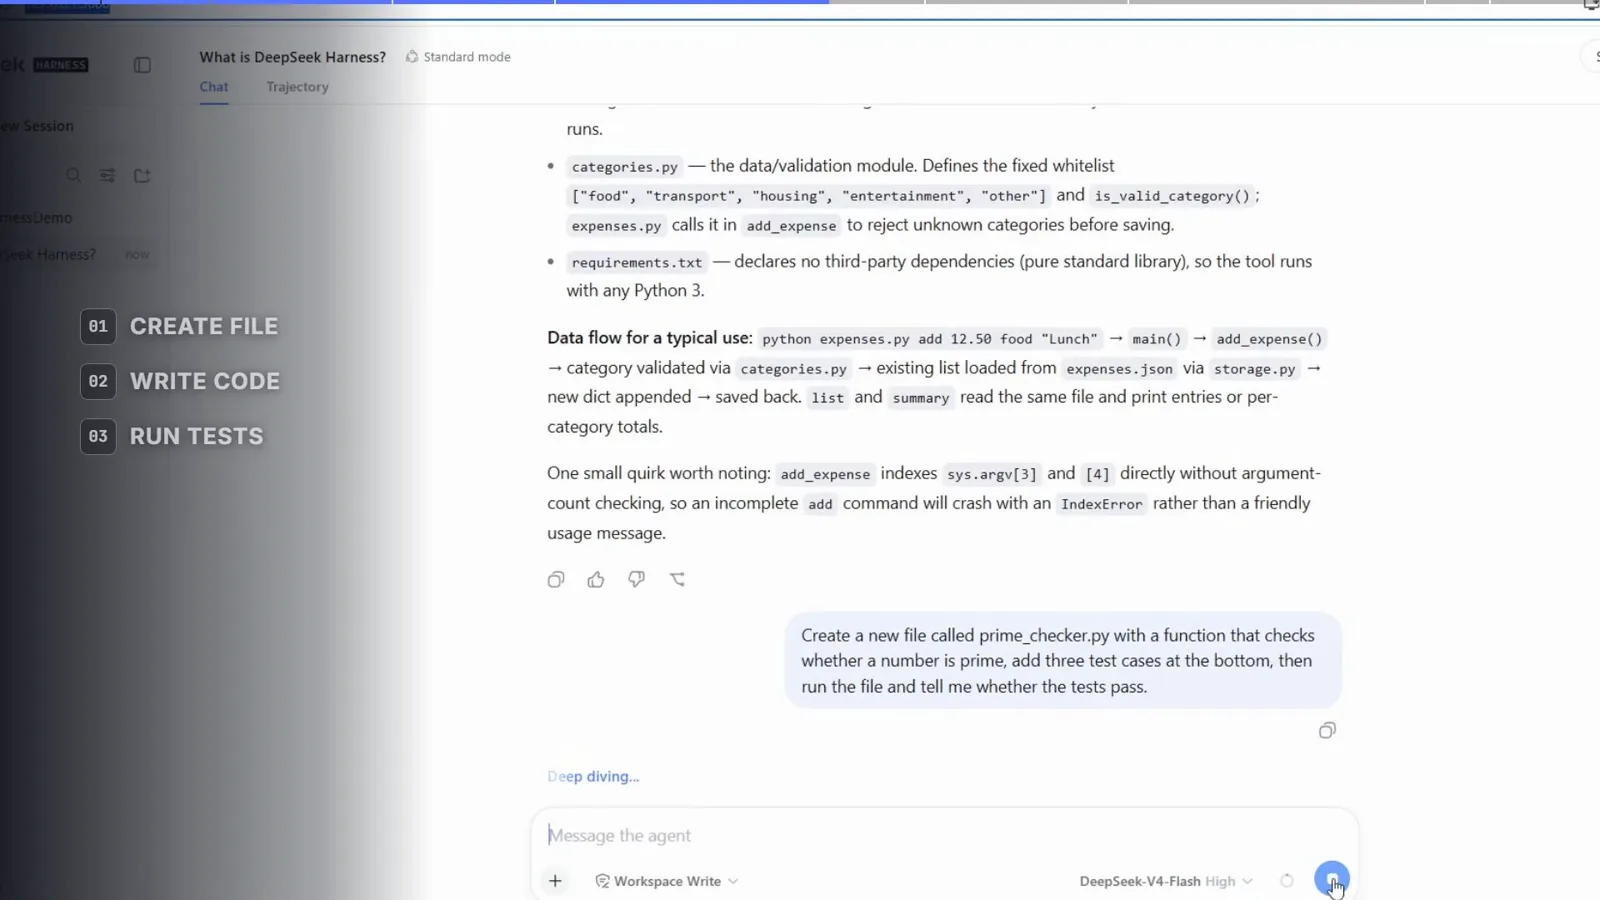
Windows 安裝常見問題
在 Windows 上安裝 DeepSeek Harness 時最常被問到的問題。
DeepSeek Harness 支援 Windows 10 和 11 嗎?
支援。DeepSeek Harness 透過 npm 基於 Node.js 安裝,Windows 10 與 Windows 11 都能直接安裝,不需要 WSL。它目前仍是開發者預覽版,版本之間行為可能變動。
在 Windows 上執行 dsh 需要 WSL2 嗎?
不需要,PowerShell 就能完成安裝與執行。不過 DSH 是迭代很快的預覽版,如果後續版本的平台支援有變化,以官方 README 為準。
npm install -g 出現 PowerShell 執行原則錯誤怎麼辦?
如果你看到 running scripts is disabled on this system 之類的紅色錯誤,npm 本身沒問題——是 PowerShell 的執行原則(ExecutionPolicy)擋下了 npm 全域安裝產生的指令碼。常見做法是執行 Set-ExecutionPolicy -Scope CurrentUser RemoteSigned,或者改用 npx @deepseek-ai/dsh web 免安裝執行。
DeepSeek Harness 在 Windows 上免費嗎?
harness 本身開源免費。模型呼叫是另一部分:你連接自己的 DeepSeek API key,token 費用由 DeepSeek 依用量計費——以 DeepSeek 的定價,日常使用成本通常很低。
瀏覽器沒有自動開啟 Web UI,怎麼找到它?
dsh web 會在 http://127.0.0.1:3080 提供 Web UI,手動在瀏覽器開啟這個網址即可,終端機也會印出這個 URL。如果用 dsh web --no-open 啟動,DSH 會刻意不自動開瀏覽器,只印出網址。
裝好之後的下一步是什麼?
去裝外掛:我們的外掛目錄收錄了上萬個社群外掛;安裝外掛教學會教你在動手前如何把關第三方程式碼。
延伸教學
dsh 跑起來之後,接著看這幾篇。
安全地安裝外掛
dsh 裡「安裝外掛」到底發生什麼,附一套第三方程式碼審查清單。
閱讀教學疑難排解與錯誤百科
症狀 → 原因 → 修復:安裝失敗、pnpm workspace allowlist 錯誤、cordis.patch.yml 衝突、bundle 格式錯誤與 Profile 設定無效。
閱讀教學沙箱、審批與金鑰
dsh 的安全模型:沙箱三檔、審批策略、守衛,以及你的金鑰去了哪裡。
閱讀教學DeepSeek Harness 是什麼?
Agent = Model + Harness 的思路、Profile 與 Patch、Preset 與四種模式。
閱讀教學DSH 外掛目錄 | dsh 外掛市集 — DeepSeek Harness 外掛一站搜尋
dsh 外掛市集:瀏覽 12400+ 個 DeepSeek Harness 外掛 —— UI 佈景主題、工具、工作流程、AI Agent,全部與 GitHub 同步,可按分類、星數與更新時間搜尋,附安裝教學。
閱讀教學來源與致謝
本頁截圖來自以下兩支影片的實機畫面,已逐張人工核對;每張截圖都會連回原影片的對應時間點。